Светодиодный тюнинг автомобилей, ремонт фар и другие работы
Поиск по сайту
Авторизация
Логин:
Пароль:
Регистрация
Забыли свой пароль?

Блог компании - Сообщения за декабрь 2020 года

  • Архив

    «   Декабрь 2020   »
    Пн Вт Ср Чт Пт Сб Вс
      1 2 3 4 5 6
    7 8 9 10 11 12 13
    14 15 16 17 18 19 20
    21 22 23 24 25 26 27
    28 29 30 31      

How simple fix DRL Hyundai i40 problem

How to fix the DRL problem on Hyundai i40? I show you how make it simple without opening headlight!


if drl is not working

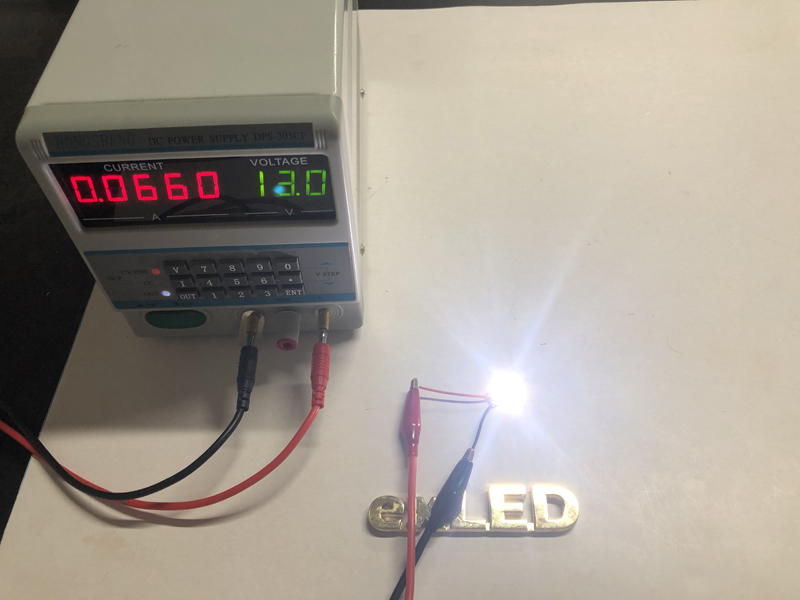
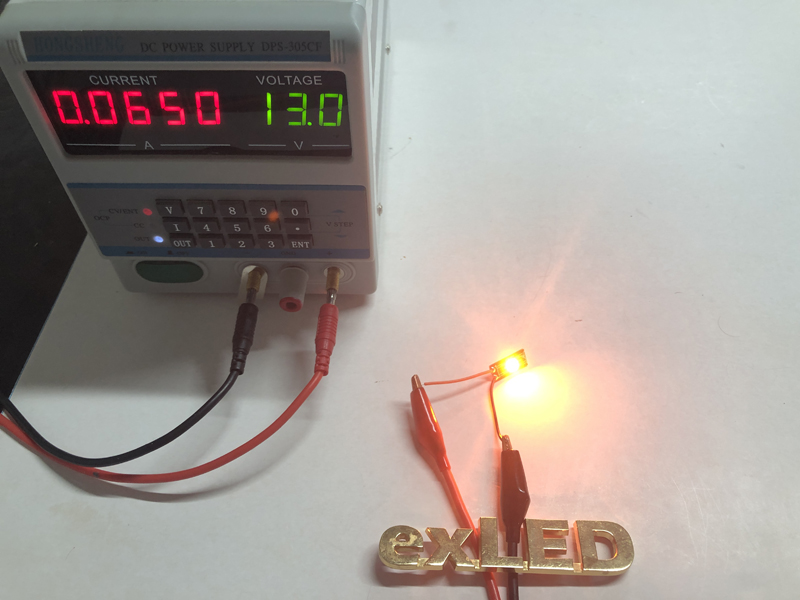
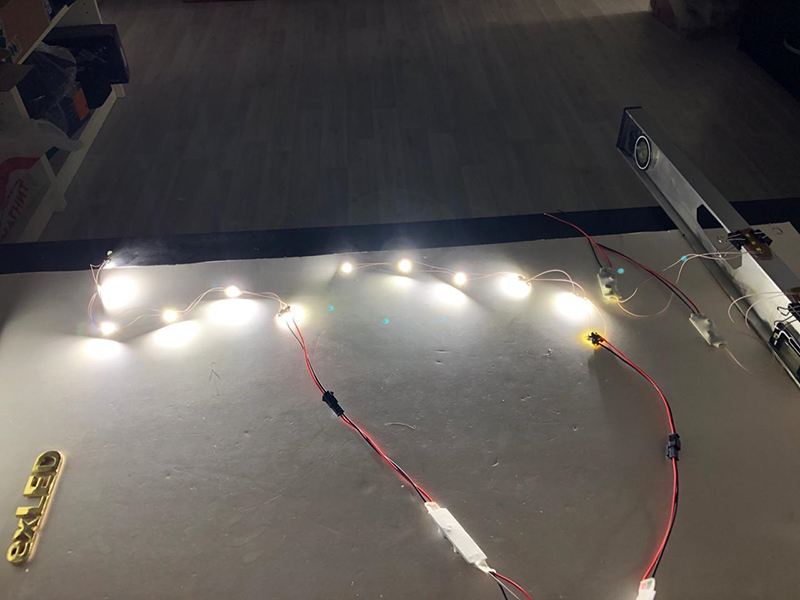
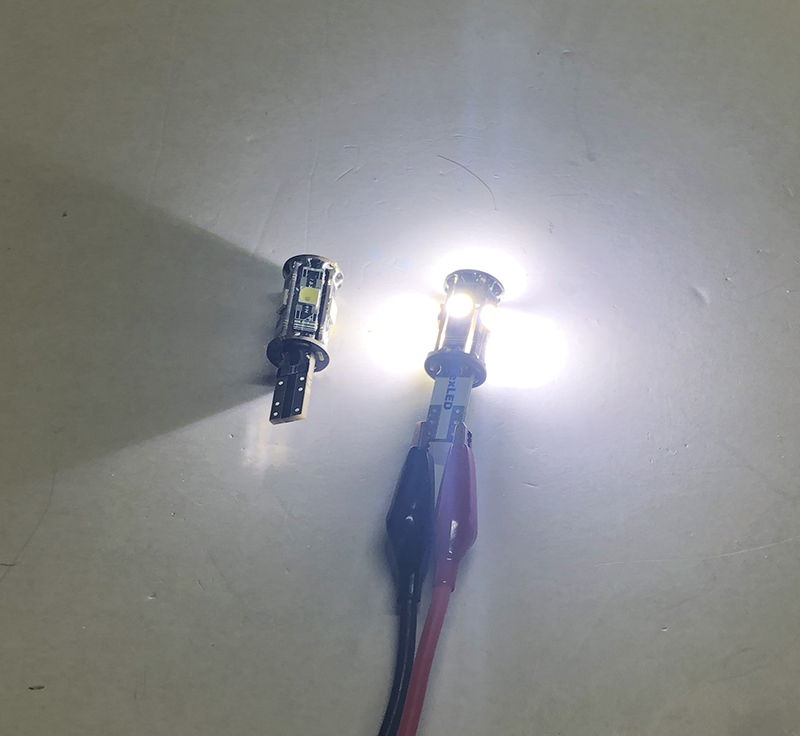
So needs those part its well built and sealed.
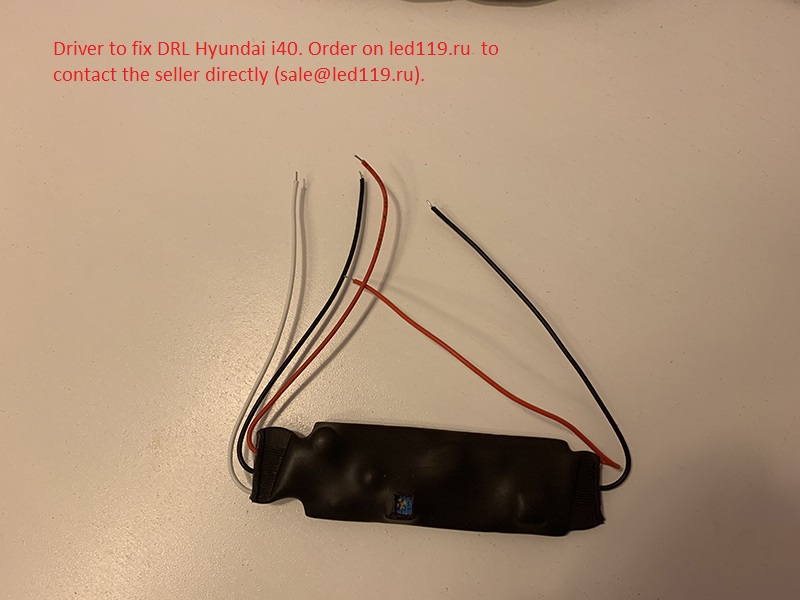
driverDRL1.jpg


new drl driver

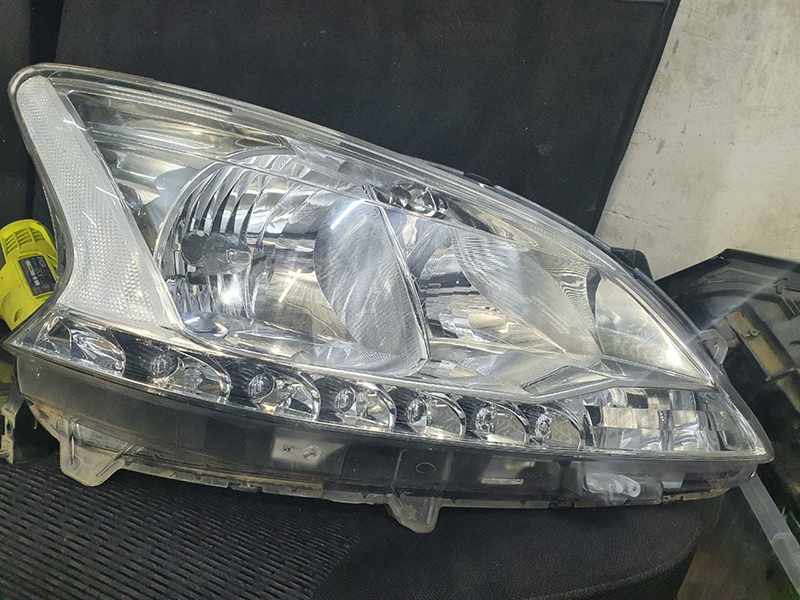
Its tooks less than 15 minutes to undo one side of the bumper (plenty of material on YouTube on how to do it) and extract the headlamp.There is a small hatch on the bottom of the headlamp that gives enough access to the connections of the chip. the two-pin connector must be cut off from the old driver and attached to the new one and plugged back into the wires from the old driver, insulate and leave in the headlight.

join the cables together :


connection diagram

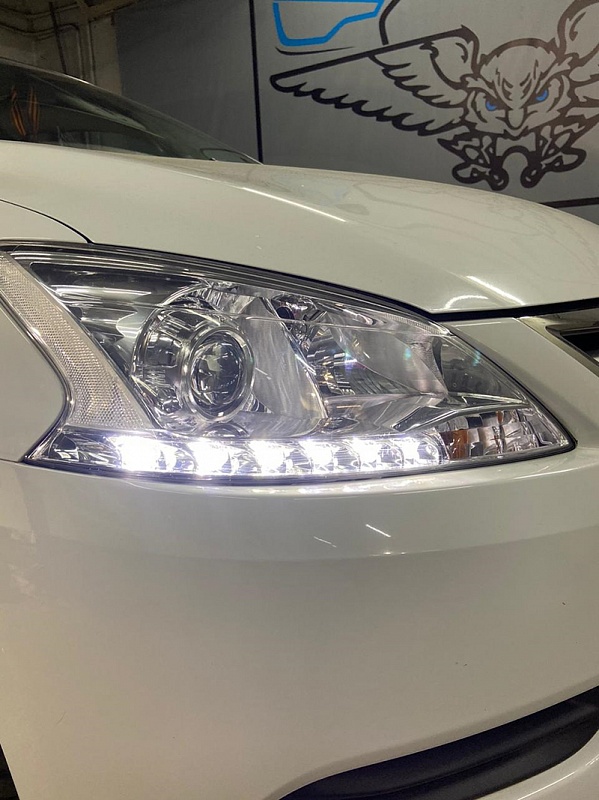
There is a small blue screw on the chip to adjust the brightness. But usually, it not needs. New driver fits in the headlight. after that connect the headlight and check all modes.


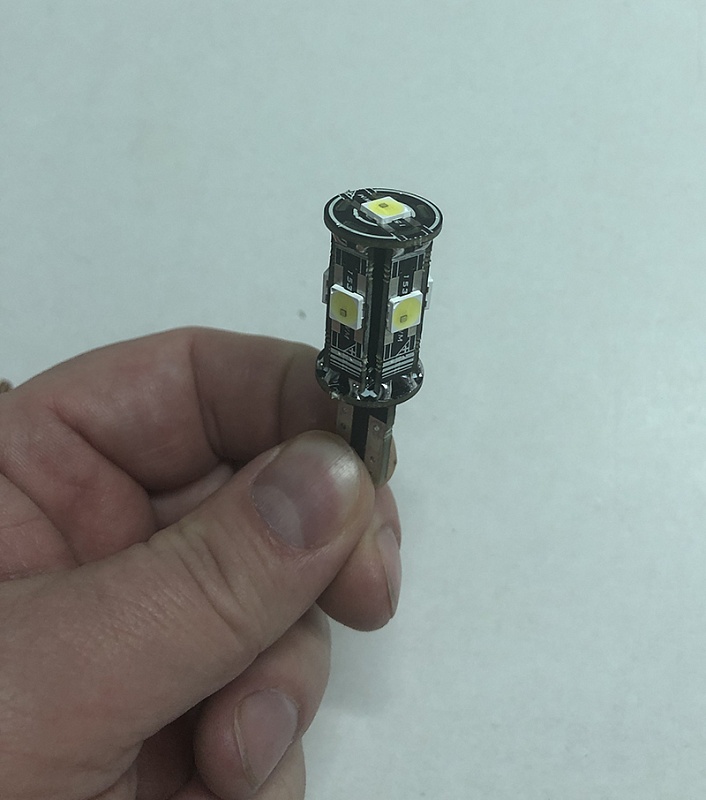
If you connected everything correctly, DRL will work. There are times when the LEDs are damaged. in this case, you will need to open the headlight and re-solder the damaged ones.

In some cases, you will need to connect according to the second scheme, which continues the first. If in the "0" mode the upper part of the headlight does not light, then connect according to scheme 2


if in this position the upper part of the headlight does not light, then connect according to the diagram


diagram 2


For the chip to be sent outside Russia you will have to contact the seller directly (sale@led119.ru). They will need your name and delivery address. After the payment, they will ship the item. As I mentioned you can safely pay through PayPal.

Please check your mail after a while, letters from nd@led119.ru may end up in spam

Video how install: https://www.youtube.com/watch?v=vuCi8w0LVUg

https://nalog7.ru/luchshie-kazino/

Новые светодиоды SMD 5050 со встроенным светодиодным драйвером.

Как вы наверное знаете версия светодиодов 1533L2 была снята с производства и не поставляется более с августа 2019 года. Многим нашим покупателям понравились модули на этом типе светодиодов. Такое решение позволяло быстро собрать сложные и красивые светодиодные модули и подключать сразу на автомобиль без использования драйверов стабилизации тока.

Новые светодиоды рассчитаны на 11-18В и имеют внутри каждого светодиода свой собственный драйвер стабилизации тока. Кроме того, перед каждым светодиодным драйвером в корпусе светодиода еще подключен стабилитрон, стабилизирующий напряжение питания светодиода. Формат светодиодов изменился теперь это smd5050, но они подходят ко всем платам для 1533L2 и обычным платам для светодиодов 5450.


wight11.jpg  
yello11.jpgred11.jpg
36414_1566802616.jpg  
flux.jpg    
3.jpg

2.jpg 1.jpg

4.jpg 5.jpg 6.jpg

ТЕХНИЧЕСКИЕ ХАРАКТЕРИСТИКИ НОВЫХ СВЕТОДИОДОВ С ДРАЙВЕРАМИ СТАБИЛИЗАЦИИ ТОКА:
  • Размеры светодиодов: 15мм х 5мм;
  • Количество чипов: 3 чипа;
  • Напряжение питания: 11~18В;
  • Ток: 65мА;
  • Мощность: 1Вт;
  • Угол рассеивания света: 120 градусов;
Мы также планируем продажу DIY (Do It Yourself) наборов для самостоятельной сборки самых разных светодиодных модулей на основе светодиодов SMD5050

Никогда еще сборка светодиодных модулей не была такой простой! Все что нужно сделать – припаять две стороны светодиода к печатной плате и подать питание!

Следите за обновлениями на нашем сайте!